Introduction
WireGuard is a modern VPN protocol that cuts through the complexity of OpenVPN and IPsec while delivering better performance and a dramatically smaller attack surface — its entire kernel implementation is under 4,000 lines of code. For IT professionals running remote infrastructure, protecting cloud workloads, or enabling secure site-to-site connectivity, WireGuard is the practical choice in 2026.
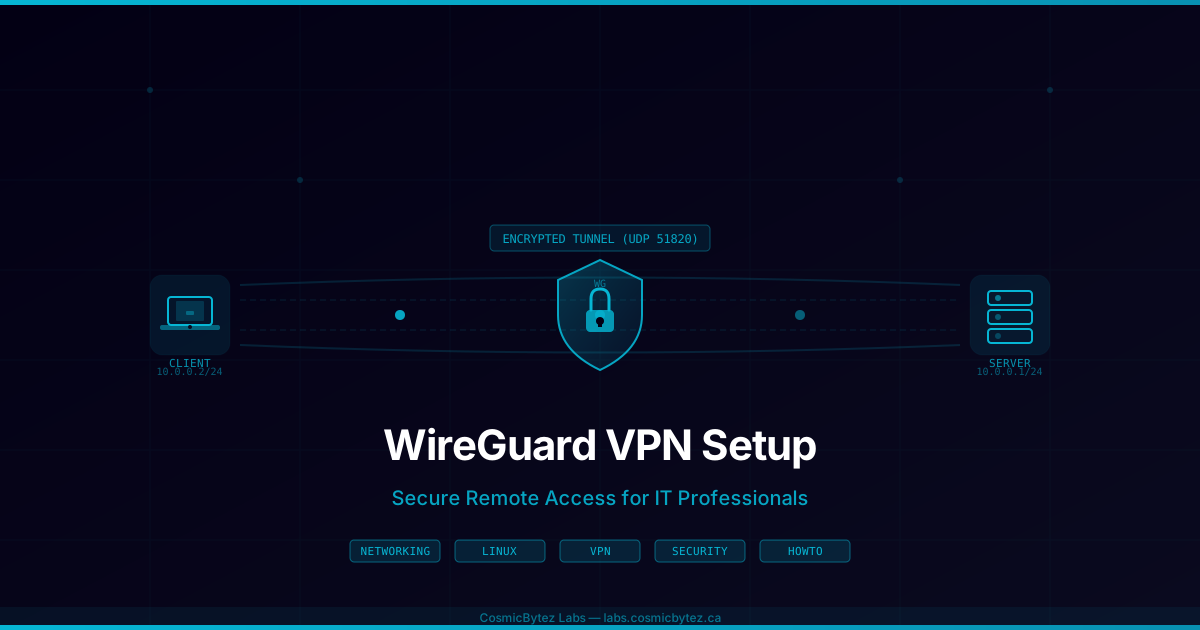
This guide walks through a production-ready WireGuard deployment: server hardening, key management, multi-client configuration, NAT rules, and split tunneling. You will end up with a functional VPN server that routes client traffic through an encrypted UDP tunnel using modern Curve25519 cryptography.
Prerequisites
Before starting, confirm you have:
- A Linux server running Ubuntu 22.04+, Ubuntu 24.04, or Debian 12 with a static public IP
sudoor root shell access on that server- Firewall control (UFW or direct
iptables/nftables) - A client machine (Linux, macOS, Windows, or Android/iOS) for testing
- Outbound UDP port 51820 unblocked by your upstream provider
Step 1: Install WireGuard
WireGuard has been in the Linux kernel since 5.6, so installation is simply pulling the userspace tools.
# Ubuntu / Debian
sudo apt update && sudo apt install -y wireguard wireguard-tools

# Verify the kernel module loads
sudo modprobe wireguard && echo "WireGuard kernel module OK"On RHEL/Rocky/AlmaLinux 9:
sudo dnf install -y epel-release
sudo dnf install -y wireguard-toolsStep 2: Generate Server Keys
WireGuard uses Curve25519 key pairs. Generate them with strict permissions — private keys must never be world-readable.
# Create the config directory with tight permissions
sudo mkdir -p /etc/wireguard
sudo chmod 700 /etc/wireguard

# Generate the server keypair
wg genkey | sudo tee /etc/wireguard/server_private.key | \
  wg pubkey | sudo tee /etc/wireguard/server_public.key

# Lock down the private key
sudo chmod 600 /etc/wireguard/server_private.key

# Display the public key — you will share this with clients
sudo cat /etc/wireguard/server_public.keySave the public key output somewhere accessible; clients need it to authenticate the server.
Step 3: Configure the WireGuard Server
Identify your server's primary network interface — the one with the public IP:
ip route get 1.1.1.1 | awk '{print $5; exit}'
# Example output: eth0Create the server configuration file. Replace SERVER_PRIVATE_KEY with the contents of /etc/wireguard/server_private.key and eth0 with your actual interface name.
sudo nano /etc/wireguard/wg0.conf[Interface]
# The VPN subnet this server owns
Address = 10.8.0.1/24
# Listen on UDP 51820 (WireGuard default)
ListenPort = 51820
# Paste the server private key here
PrivateKey = SERVER_PRIVATE_KEY
# Enable IP forwarding and NAT so clients can reach the internet
PostUp = sysctl -w net.ipv4.ip_forward=1
PostUp = iptables -t nat -A POSTROUTING -s 10.8.0.0/24 -o eth0 -j MASQUERADE
PostUp = iptables -A FORWARD -i wg0 -j ACCEPT
PostDown = iptables -t nat -D POSTROUTING -s 10.8.0.0/24 -o eth0 -j MASQUERADE
PostDown = iptables -A FORWARD -i wg0 -j ACCEPT
# Peers are added below — one [Peer] block per clientSet restrictive permissions on the config:
sudo chmod 600 /etc/wireguard/wg0.confStep 4: Make IP Forwarding Persistent
The PostUp sysctl above sets forwarding for the current session, but it resets on reboot. Make it permanent:
sudo nano /etc/sysctl.d/99-wireguard.confnet.ipv4.ip_forward = 1
net.ipv6.conf.all.forwarding = 1
sudo sysctl --systemStep 5: Open the Firewall
UFW users:
# Allow WireGuard UDP port
sudo ufw allow 51820/udp

# Allow forwarded traffic from the VPN subnet
sudo ufw route allow in on wg0 out on eth0
sudo ufw route allow in on eth0 out on wg0

sudo ufw statusiptables users (if not using UFW):
sudo iptables -A INPUT -p udp --dport 51820 -j ACCEPT
sudo iptables -A FORWARD -i wg0 -j ACCEPT
sudo iptables -A FORWARD -o wg0 -m state --state RELATED,ESTABLISHED -j ACCEPT

# Save rules
sudo iptables-save | sudo tee /etc/iptables/rules.v4Step 6: Generate Client Keys
Repeat this for every peer. You can generate client keys directly on the server for convenience, then transfer securely, or generate them on the client machine itself.
# Generate a keypair for the first client
wg genkey | tee /tmp/client1_private.key | wg pubkey > /tmp/client1_public.key

cat /tmp/client1_private.key  # Keep this secret — goes in the client config
cat /tmp/client1_public.key # Share with the server — goes in [Peer] on wg0.confClean up after transferring:
shred -u /tmp/client1_private.key /tmp/client1_public.keyStep 7: Add Clients to the Server Config
For each client, append a [Peer] block to /etc/wireguard/wg0.conf. Each client gets a unique IP in the VPN subnet.
sudo nano /etc/wireguard/wg0.conf[Peer]
# Client 1 — laptop
PublicKey = CLIENT1_PUBLIC_KEY
AllowedIPs = 10.8.0.2/32
[Peer]
# Client 2 — home workstation
PublicKey = CLIENT2_PUBLIC_KEY
AllowedIPs = 10.8.0.3/32AllowedIPs = 10.8.0.X/32 restricts each peer to a single VPN IP. WireGuard uses this as both a routing table and an access control list — traffic from a peer that does not match its AllowedIPs is silently dropped.
Step 8: Create the Client Configuration
Create this file on each client machine. The [Interface] section is the client's own identity; [Peer] points at your server.
[Interface]
# This client's VPN IP
Address = 10.8.0.2/24

# Client private key (generated in Step 6)
PrivateKey = CLIENT1_PRIVATE_KEY

# Use Cloudflare DNS over the VPN tunnel
DNS = 1.1.1.1, 1.0.0.1

[Peer]
# Server's public key
PublicKey = SERVER_PUBLIC_KEY

# Route ALL traffic through the VPN (full tunnel)
# For split tunnel, list only the subnets you want routed
AllowedIPs = 0.0.0.0/0, ::/0

# Server public IP and port
Endpoint = YOUR_SERVER_IP:51820

# Send a keepalive every 25s to maintain NAT mappings
PersistentKeepalive = 25Save this as wg0.conf (Linux/macOS) or import it in the WireGuard GUI app (Windows/iOS/Android).
Split tunneling — to route only specific subnets through the VPN instead of all traffic, replace AllowedIPs = 0.0.0.0/0 with your target networks, e.g.:
AllowedIPs = 10.8.0.0/24, 192.168.1.0/24Step 9: Start the WireGuard Interface
On the server:
# Start immediately and enable on boot
sudo systemctl enable --now wg-quick@wg0

# Verify the interface is up
sudo wg showExpected output:
interface: wg0
  public key: <your server pubkey>
  private key: (hidden)
  listening port: 51820

peer: <client pubkey>
  allowed ips: 10.8.0.2/32
On the client (Linux):
sudo apt install -y wireguard-tools   # if not already installed

# Copy the client config to /etc/wireguard/wg0.conf, then:
sudo systemctl enable --now wg-quick@wg0On macOS: Install the WireGuard app from the Mac App Store, import the .conf file, and click Activate.
On Windows: Download the official WireGuard installer from wireguard.com, import the tunnel, and activate.
Step 10: Add Peers Dynamically Without Restarting
You can add new peers to a running WireGuard interface without any downtime:
# Add a new peer on the fly
sudo wg set wg0 peer NEW_CLIENT_PUBKEY allowed-ips 10.8.0.4/32

# Persist the change so it survives a restart
sudo wg-quick save wg0Remove a peer:
sudo wg set wg0 peer CLIENT_PUBKEY remove
sudo wg-quick save wg0Verification and Testing
After activating the VPN on a client, run these checks:
# 1. Confirm the WireGuard interface is up on the client
ip addr show wg0

# 2. Ping the server's VPN IP
ping 10.8.0.1

# 3. Check your public IP — it should show the server's IP if doing full tunnel
curl https://ifconfig.me

# 4. On the server, watch live handshake and transfer stats
sudo watch -n 2 wg show

# 5. Confirm traffic is flowing (bytes transferred should increase)
sudo wg show wg0 transferThe latest handshake timestamp in wg show confirms the peer has authenticated successfully. WireGuard only sends traffic when there is data to send, so you may not see a handshake until the first packet.
Troubleshooting
No handshake / connection timeout
- Verify UDP 51820 is open on the server firewall:
sudo ss -ulnp | grep 51820 - Check that the client
EndpointIP and port are correct - Ensure the server's public key in the client config matches
server_public.key - If behind a double NAT, set
PersistentKeepalive = 25on the client
Traffic flows but internet does not work (full tunnel mode)
- Confirm IP forwarding is enabled:
cat /proc/sys/net/ipv4/ip_forwardshould return1 - Verify the NAT masquerade rule is active:
sudo iptables -t nat -L POSTROUTING -n -v - Check that the
PostUpinterface name (eth0) matches your actual interface
DNS leaks
- Use
drillordigto confirm DNS queries go through the VPN:dig +short myip.opendns.com @resolver1.opendns.com - If leaking, add
DNS = 1.1.1.1to the client[Interface]block and ensure the OS respects it (resolvconf issues are common on Ubuntu — installresolvconf:sudo apt install -y resolvconf)
Permission denied on wg0.conf
- Config files in
/etc/wireguard/must be mode600and owned by root - Run:
sudo chmod 600 /etc/wireguard/wg0.conf && sudo chown root:root /etc/wireguard/wg0.conf
Logs and diagnostics
# WireGuard service logs
sudo journalctl -u wg-quick@wg0 -f

# Enable kernel debug logging temporarily
echo module wireguard +p | sudo tee /sys/kernel/debug/dynamic_debug/control
dmesg | grep wireguardSummary
You now have a production-ready WireGuard VPN server with:
- Curve25519 key-pair authentication per peer
- NAT masquerading for full-tunnel internet routing
- Per-peer
AllowedIPsacting as an access control list - Persistent IP forwarding and firewall rules
- Hot peer add/remove without interface restarts
WireGuard's minimal codebase and cryptographic simplicity make it straightforward to audit and maintain compared to legacy VPN solutions. For multi-site deployments, the same peer model scales to site-to-site tunnels by setting AllowedIPs to entire remote subnets rather than single /32 addresses. For larger fleets, tools like wg-easy (Docker-based GUI) or Netmaker build on top of this same foundation to automate peer management at scale.