Overview
Most homelab guides for "access this from outside my LAN" land on a VPN: WireGuard, Tailscale, or a self-hosted control plane like Headscale. Those are the right tool when you want full network access from a trusted device. But a lot of the time the actual requirement is narrower — "let me (and maybe two teammates) open this one dashboard from a browser, without installing a VPN client first." For that case, punching a hole in the firewall and pointing a reverse proxy at it is the traditional answer, and it's also the one with the worst failure mode: a misconfigured port forward or an unpatched service becomes directly reachable from the entire internet.
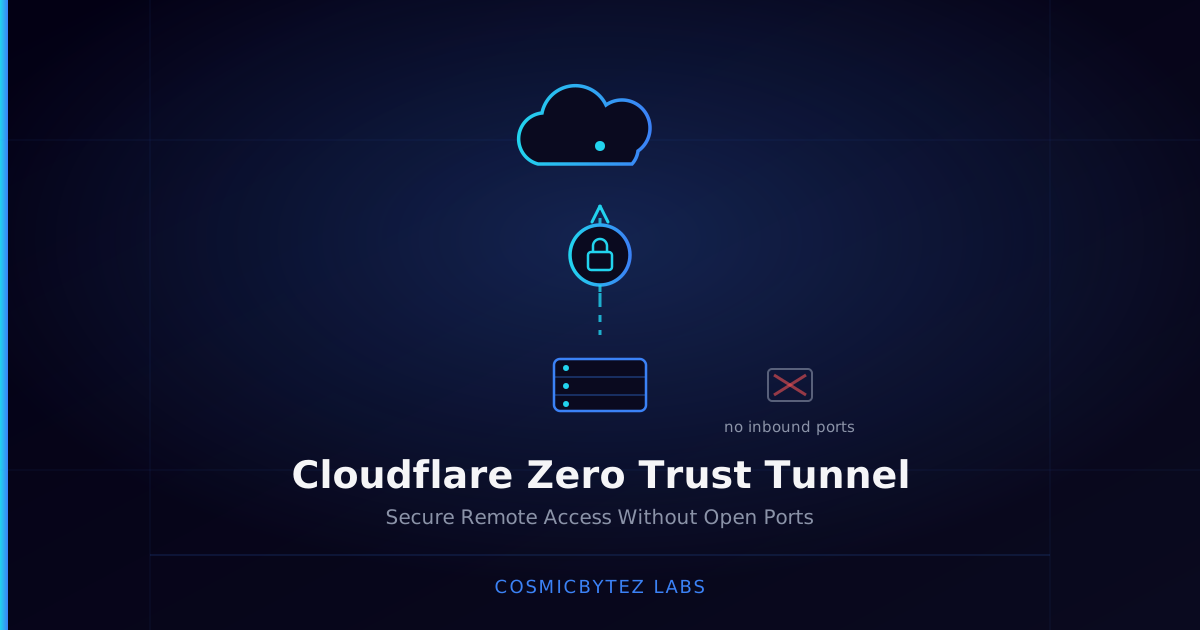
Cloudflare Tunnel (cloudflared) inverts the connection. A lightweight daemon runs inside the network next to the service and opens an outbound connection to Cloudflare's edge over QUIC/HTTP2 — no inbound port, no port forward, no public IP requirement at all. Cloudflare terminates TLS at its edge, proxies matched hostnames down through that outbound tunnel to the local service, and — layered on top with Cloudflare Access — can require every request to authenticate against an identity provider (email OTP, Google, GitHub, etc.) before it ever reaches cloudflared. The service itself never has to trust the network; the network perimeter is identity, not an IP allowlist. That's the "zero trust" part.
This build stands up a named tunnel in Docker, maps it to a couple of internal services via ingress rules, and puts an Access application with an email-domain policy in front of the one that shouldn't be public. It pairs well with (and is a deliberately lighter-weight alternative to) the site's Traefik reverse-proxy build and Headscale mesh VPN build — Traefik still terminates TLS for LAN-only traffic behind the tunnel, and Headscale is still the right choice when you need full subnet access from a laptop rather than browser access to a specific app.
Architecture
            Internet
               │
      ┌────────▼─────────┐
      │ Cloudflare Edge   │  TLS termination, DDoS filtering
      │ *.example.com     │  Access policy evaluation (identity check)
      └────────┬──────────┘
               │ outbound-only QUIC/HTTP2 tunnel
               │ (initiated FROM inside the LAN — no inbound port)
      ┌────────▼──────────┐
      │ cloudflared        │  Docker container, holds TUNNEL_TOKEN
      │ (homelab/LAN)      │  reads ingress rules, proxies by hostname
      └───┬───────────┬────┘
          │           │
  ┌───────▼─────┐ ┌───▼──────────┐
  │ dashboard    │ │ internal-wiki │   plain Docker services,
  │ :3000        │ │ :8080         │   no public exposure of their own
  └──────────────┘ └───────────────┘
Two ingress hostnames map to two internal containers on the same Docker network as cloudflared. One (internal-wiki) sits behind a Cloudflare Access application that requires a @cosmicbytez.ca email + one-time PIN before the request is ever forwarded. The other (dashboard) is intentionally public — Access policies are opt-in per hostname, not all-or-nothing.
Step-by-Step Build
1. Create the tunnel in the Zero Trust dashboard
In the Cloudflare dashboard: Zero Trust → Networks → Tunnels → Create a tunnel → Cloudflared. Name it (e.g. homelab) and copy the connector token shown on the "Docker" install tab — it's a long JWT-style string, store it like a credential, not in source control.
2. Run cloudflared alongside the services it will front
# docker-compose.yml
services:
  cloudflared:
    image: cloudflare/cloudflared:latest
    container_name: cloudflared
    restart: unless-stopped
    command: tunnel --no-autoupdate run
    environment:
      TUNNEL_TOKEN: ${CF_TUNNEL_TOKEN}
    networks:
      - tunnel-net

  dashboard:
    image: ghcr.io/example/dashboard:latest
    container_name: dashboard
    restart: unless-stopped
    networks:
      - tunnel-net
    # no `ports:` block needed — nothing needs to be reachable from the host

  internal-wiki:
    image: ghcr.io/example/wiki:latest
    container_name: internal-wiki
    restart: unless-stopped
    networks:
      - tunnel-net

networks:
  tunnel-net:
driver: bridgeCF_TUNNEL_TOKEN goes in a gitignored .env next to the compose file. Because cloudflared shares tunnel-net with the app containers, ingress rules can reference them by container name instead of an IP or localhost.
3. Define ingress rules (public hostname → container)
These can be set in the dashboard's "Published application routes" tab, or — for anything beyond a couple of routes — as a config.yml mounted into the container for git-tracked, reviewable config:
# config.yml
tunnel: <tunnel-id-from-dashboard>
credentials-file: /etc/cloudflared/creds.json

ingress:
  - hostname: status.example.com
    service: http://dashboard:3000
  - hostname: wiki.example.com
    service: http://internal-wiki:8080
  # catch-all is mandatory — cloudflared refuses to start without one
- service: http_status:404Rules are evaluated top to bottom and the first hostname match wins, so put specific hostnames above anything broader. Cloudflare auto-creates the matching CNAME records (pointed at <tunnel-id>.cfargotunnel.com) when routes are published from the dashboard; if you hand-write config.yml instead, add the CNAMEs with cloudflared tunnel route dns homelab status.example.com for each hostname.
4. Lock down the sensitive hostname with an Access policy
Zero Trust → Access → Applications → Add an application → Self-hosted. Set the application domain to wiki.example.com, leave status.example.com alone (it stays public), and add a policy:
- Policy name:
Team only - Action: Allow
- Include rule: Emails ending in
@cosmicbytez.ca - Session duration: 24 hours
Save, and wiki.example.com now serves Cloudflare's hosted login page first — email + one-time PIN — before any request reaches internal-wiki. The container itself never has to implement auth for this to work.
Testing
# Confirm the tunnel is connected and healthy
docker exec cloudflared cloudflared tunnel info homelab

# Public (no policy) route should resolve straight through
curl -I https://status.example.com

# Access-gated route should redirect to the Cloudflare login page (302)
curl -I https://wiki.example.com

# Confirm there is genuinely nothing listening on the host for these services
nmap -p 1-65535 <homelab-public-ip> # from an external vantage pointThe nmap sweep from outside the LAN should show no open ports related to these services at all — the only thing Cloudflare-reachable is the outbound tunnel session, which doesn't show up as a listening port because nothing was opened on the firewall.
Deployment Notes
- Treat
CF_TUNNEL_TOKENas a secret — anyone with it can run a connector that joins your tunnel. Rotate it from the dashboard (Tunnel → Configure → Refresh token) if it's ever exposed in a log or screenshot. - Run two
cloudflaredreplicas (same token, different hosts/containers) for connector redundancy — Cloudflare load-balances across active connectors for the same tunnel automatically, no extra config needed. - Keep management-plane services (container runtime APIs, hypervisor consoles, SSH) off the tunnel's ingress list entirely rather than relying on an Access policy to protect them — fewer things reachable by the edge at all is a stronger guarantee than "reachable but gated."
- Access policies support more than email+OTP: GitHub/Google/SAML IdP integration, device posture checks (OS version, certificate presence), and country-based rules can all be combined per application.
Extensions
- Add device posture checks to the Access policy (WARP client installed, disk encryption on) for an extra factor beyond identity.
- Front a second, SSH-specific tunnel ingress rule (
service: ssh://internal-host:22) and usecloudflared access sshfor browser-rendered terminal access with no VPN and no exposed port 22. - Pair with the existing Traefik build by pointing tunnel ingress rules at Traefik's internal entrypoint instead of individual containers, so Traefik keeps handling LAN-side routing/TLS and the tunnel only handles the internet-facing edge.
- Export Access audit logs (who authenticated, when, from where) to a SIEM via Cloudflare Logpush — a natural fit for the site's existing Wazuh or OpenCTI builds if correlating external access attempts matters.